Ask what the patient wants to do more comfortably, then use history, examination and a repeatable task to decide whether an orthotic trial is suitable.
“I want to walk the dog for 30 minutes without having to stop.”
Patient goal → possible measure for review
Before selecting a device
Check suitability and scope
Clarify the working diagnosis, relevant history, skin and footwear. Consider circulation and protective sensation when indicated. Explain the trial, alternatives and uncertainty.
Concerning trauma, infection, skin breakdown or neurological change needs appropriate assessment. A hot, swollen foot in a person with diabetes needs urgent specialist assessment.
Observe, describe, then decide whether the finding relates to the patient’s goal.
The six tests
A structured set of observations
These findings support reasoning alongside the history and wider examination. No single test dictates a prescription.
Joint assessment
(Foot Morphology and Motion Test)
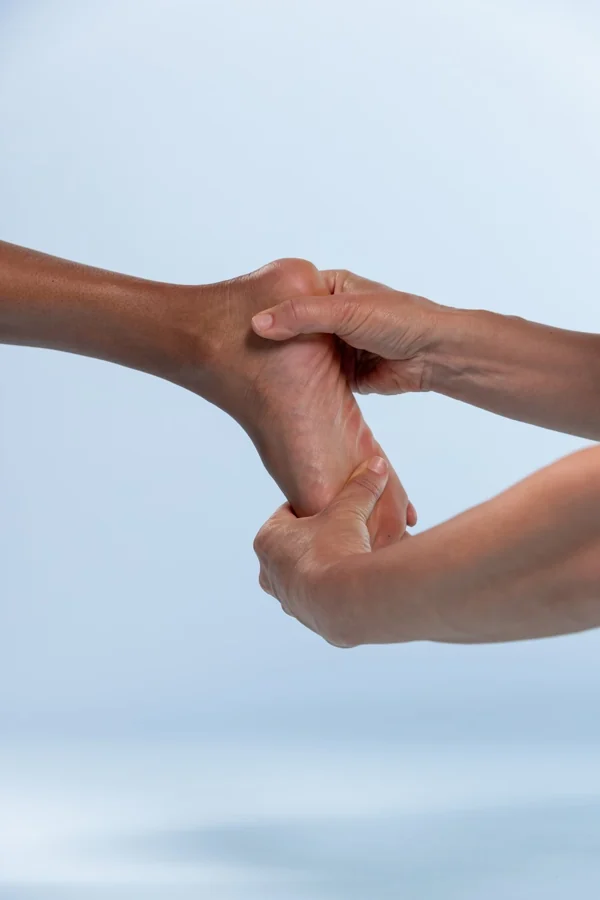
Observe joint range, symptoms and asymmetry with the foot supported. Compare with weight-bearing findings.
Interpreting joint assessment
How it helps
Non-weight-bearing morphology gives a baseline for comparison with standing movement.
Keep in mind
A non-weight-bearing position does not establish how the foot functions in gait. Interpret it alongside the other tests; agreement between examiners can vary.
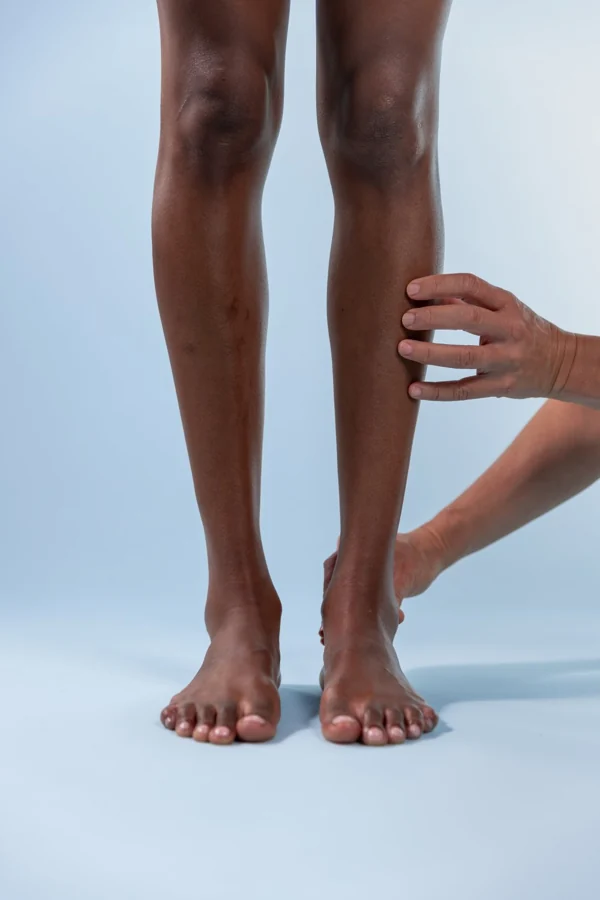
Alignment
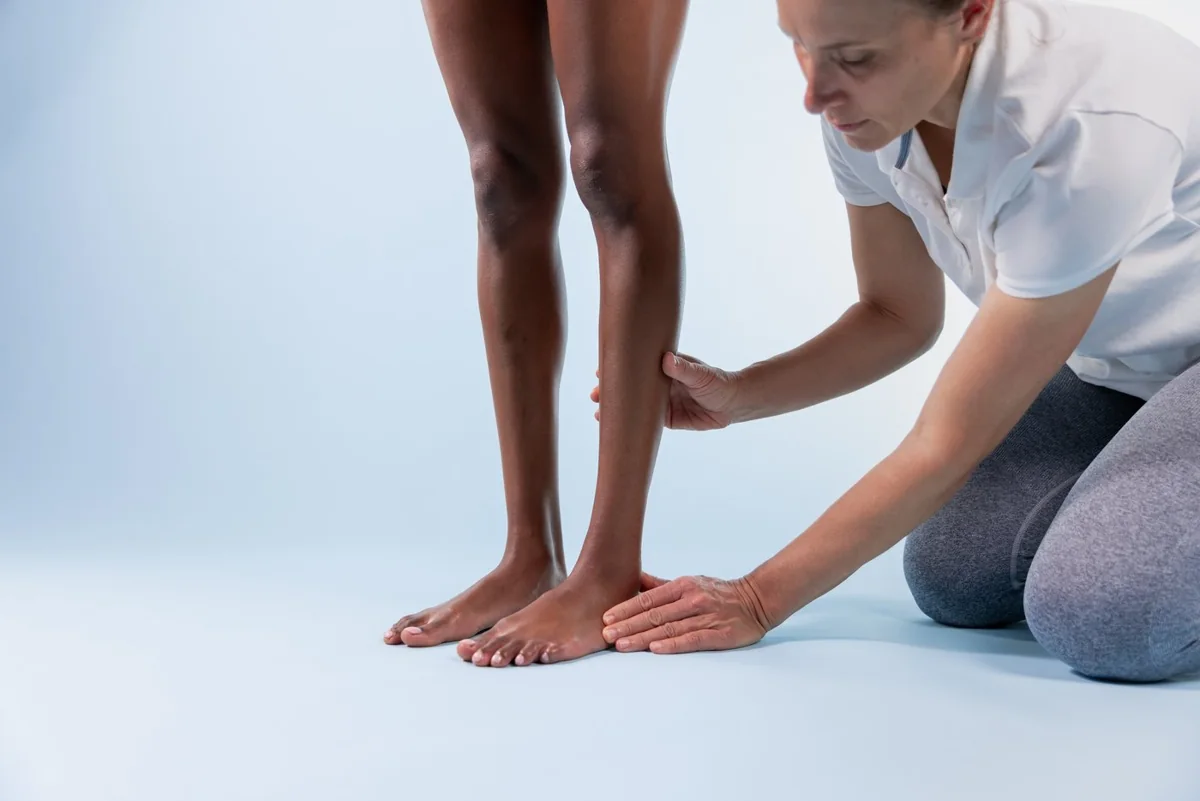
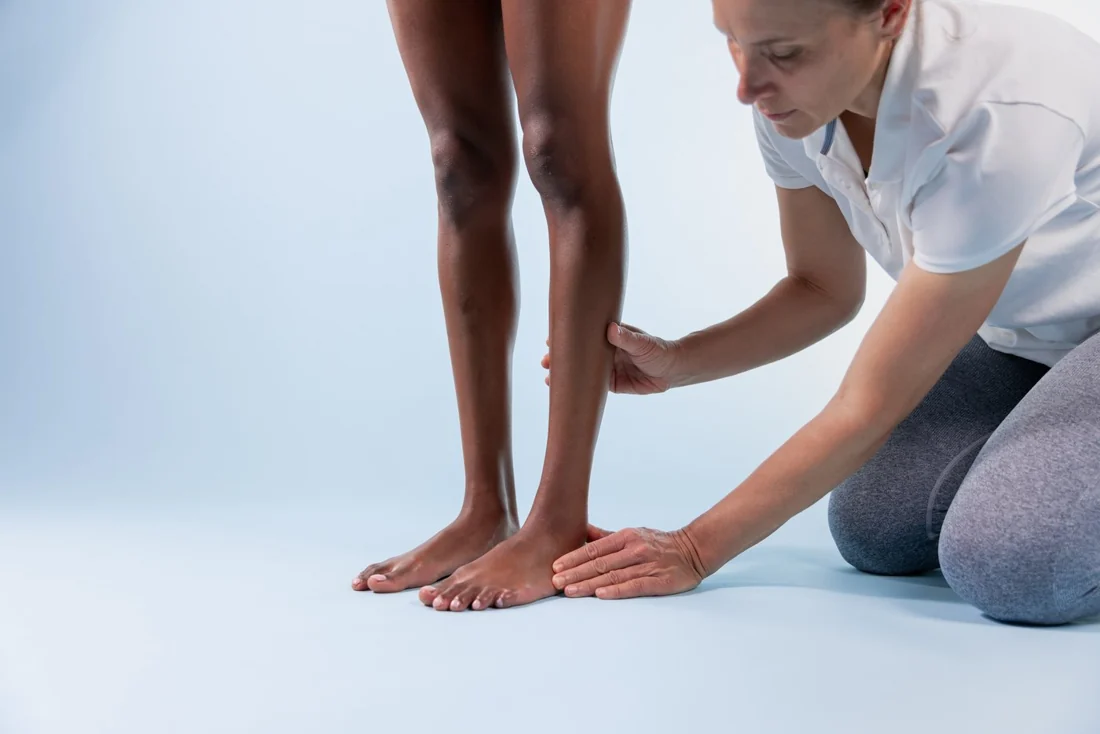
Observe the barefoot foot and lower limb in standing and walking. Compare the pattern with the patient’s goal.
Interpreting alignment
How it helps
A relevant pattern may emerge when movement, symptoms and the chosen task are considered together.
Keep in mind
An alignment difference can be present without symptoms. Appearance alone does not identify a cause or justify correction.
Supination resistance
Estimate the effort needed to initiate supination with a consistent technique. Compare with the wider assessment.
Interpreting supination resistance
How it helps
Manual resistance can inform a trial, which is then judged by the fitted response.
Keep in mind
Manual resistance is one observation. It does not specify an exact orthotic force, density or wedge prescription.
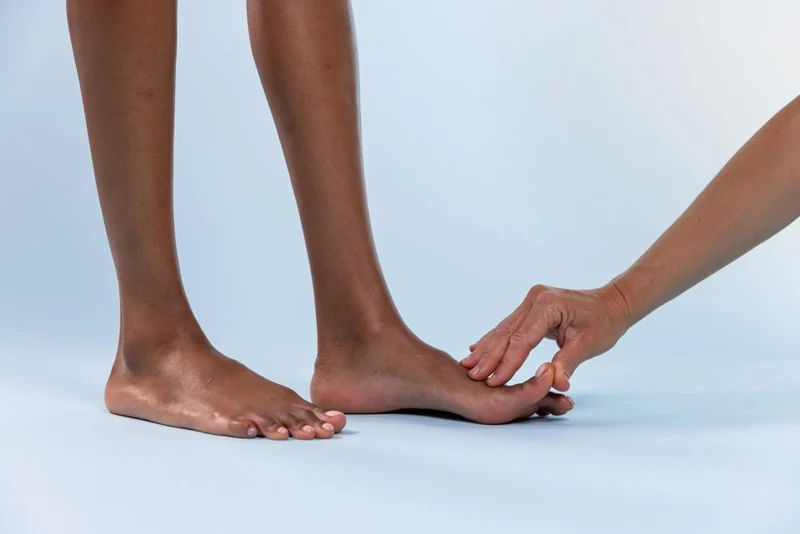
Windlass (Jack’s)
Gently lift the hallux. Observe arch response, effort and symptoms; compare under the same conditions.
Interpreting the Windlass (Jack’s) test
How it helps
The response can be compared before and after a suitable trial alongside the patient’s function.
Keep in mind
Diagnostic validity is limited. A response to this test does not establish a diagnosis or guarantee that a modification will help in normal activity.
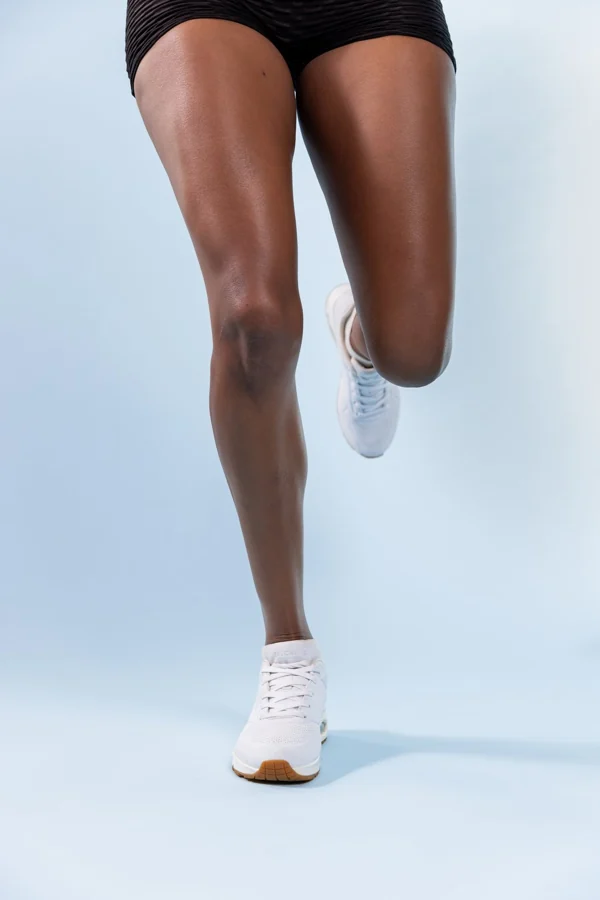
Proximal control knee bend
Observe trunk, pelvis, knee and foot during a comfortable bend. Compare control and symptoms.
Interpreting proximal control knee bend
How it helps
Whole-limb movement adds context to the patient’s functional task.
Keep in mind
A movement pattern alone cannot identify which structure is responsible or show that an orthosis is required.
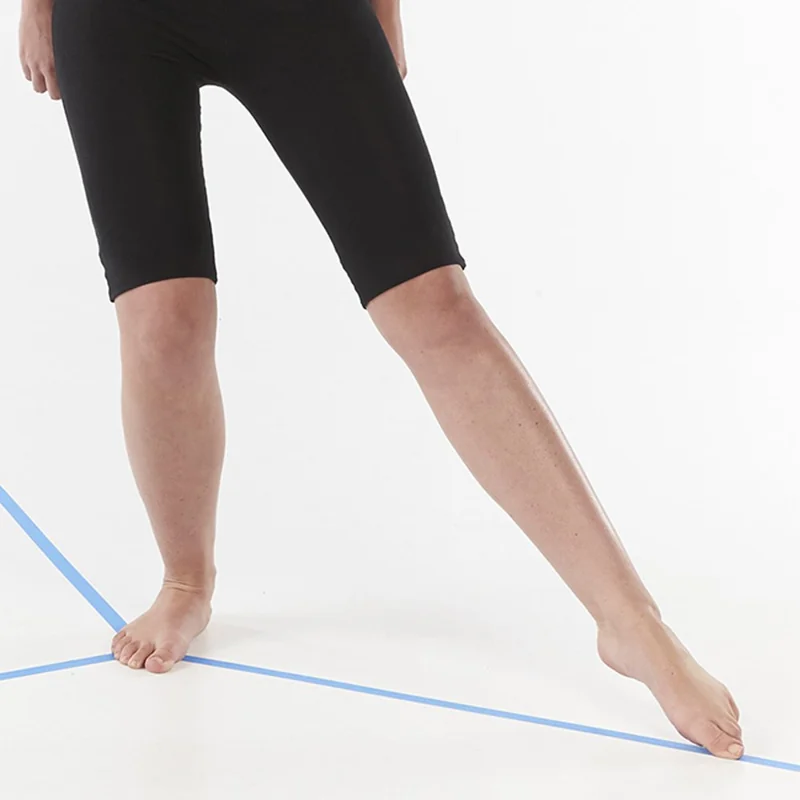
Neuromotor balance
Choose a safe stance or reach task. Compare control, symptoms and effort with similar support.
Interpreting neuromotor balance
How it helps
A repeatable task can help assess response and monitor change at review.
Keep in mind
Balance reflects several influences. One better attempt does not establish the cause of difficulty or prove lasting benefit.
Clinical checkpoint
A low arch or high manual supination resistance, on its own, is not a reason to prescribe a medial wedge.
Choose
Compare the starting options.
Match support, cushioning and shoe space to the assessed aim. Confirm the choice in the patient’s actual footwear.
Dual density
Support beneath. Cushioning above.
Compare the construction, then check the fitted response.
Balanced support & cushioning
Dual Medium
A medium base with a softer top layer.
Check in the trialComfort, useful support and room for both layers.
These are product comparisons, not a prescribing rule. Body mass or a single test result does not determine a model.
Size and shoe volume come together.
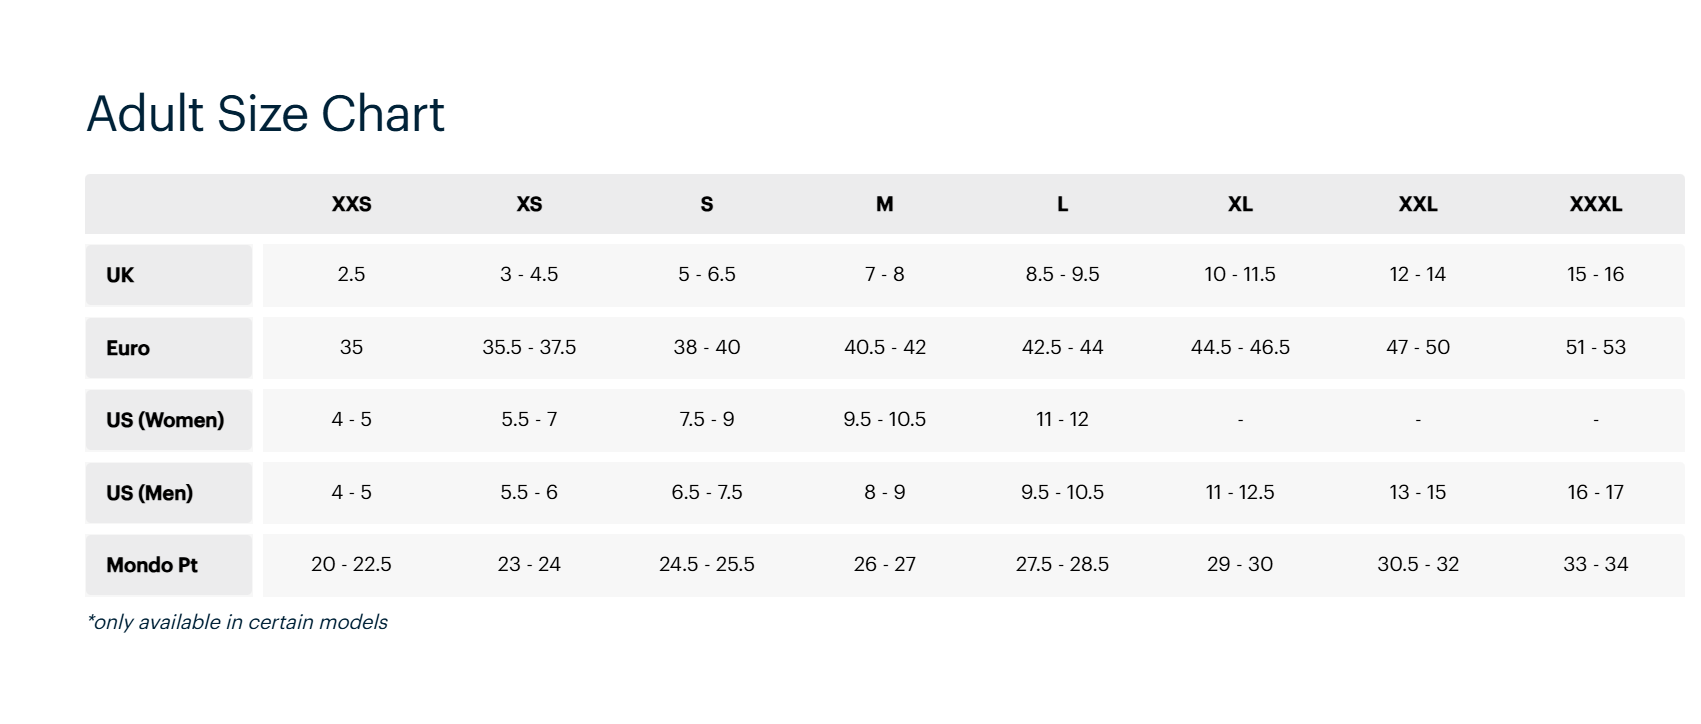
Use the size chart as a starting point. Check the device against the foot and inside the actual shoe: heel seated, toes uncrowded, no bunching and enough depth. Check the removable factory liner before adding another layer.
Single range: when shoe volume or modification needs a single layer
Compare the actual thickness, profile and density. A single layer may suit the available space or a planned modification; dual models can also accept appropriate additions.
X-Soft / SoftAccommodation and cushioning+
Consider when sensitive contact or prominent areas make accommodation a priority. Soft provides mild functional support; X-Soft is the most accommodative option.
Check in practice Check local pressure, comfort and whether the material remains effective under the patient’s loading.
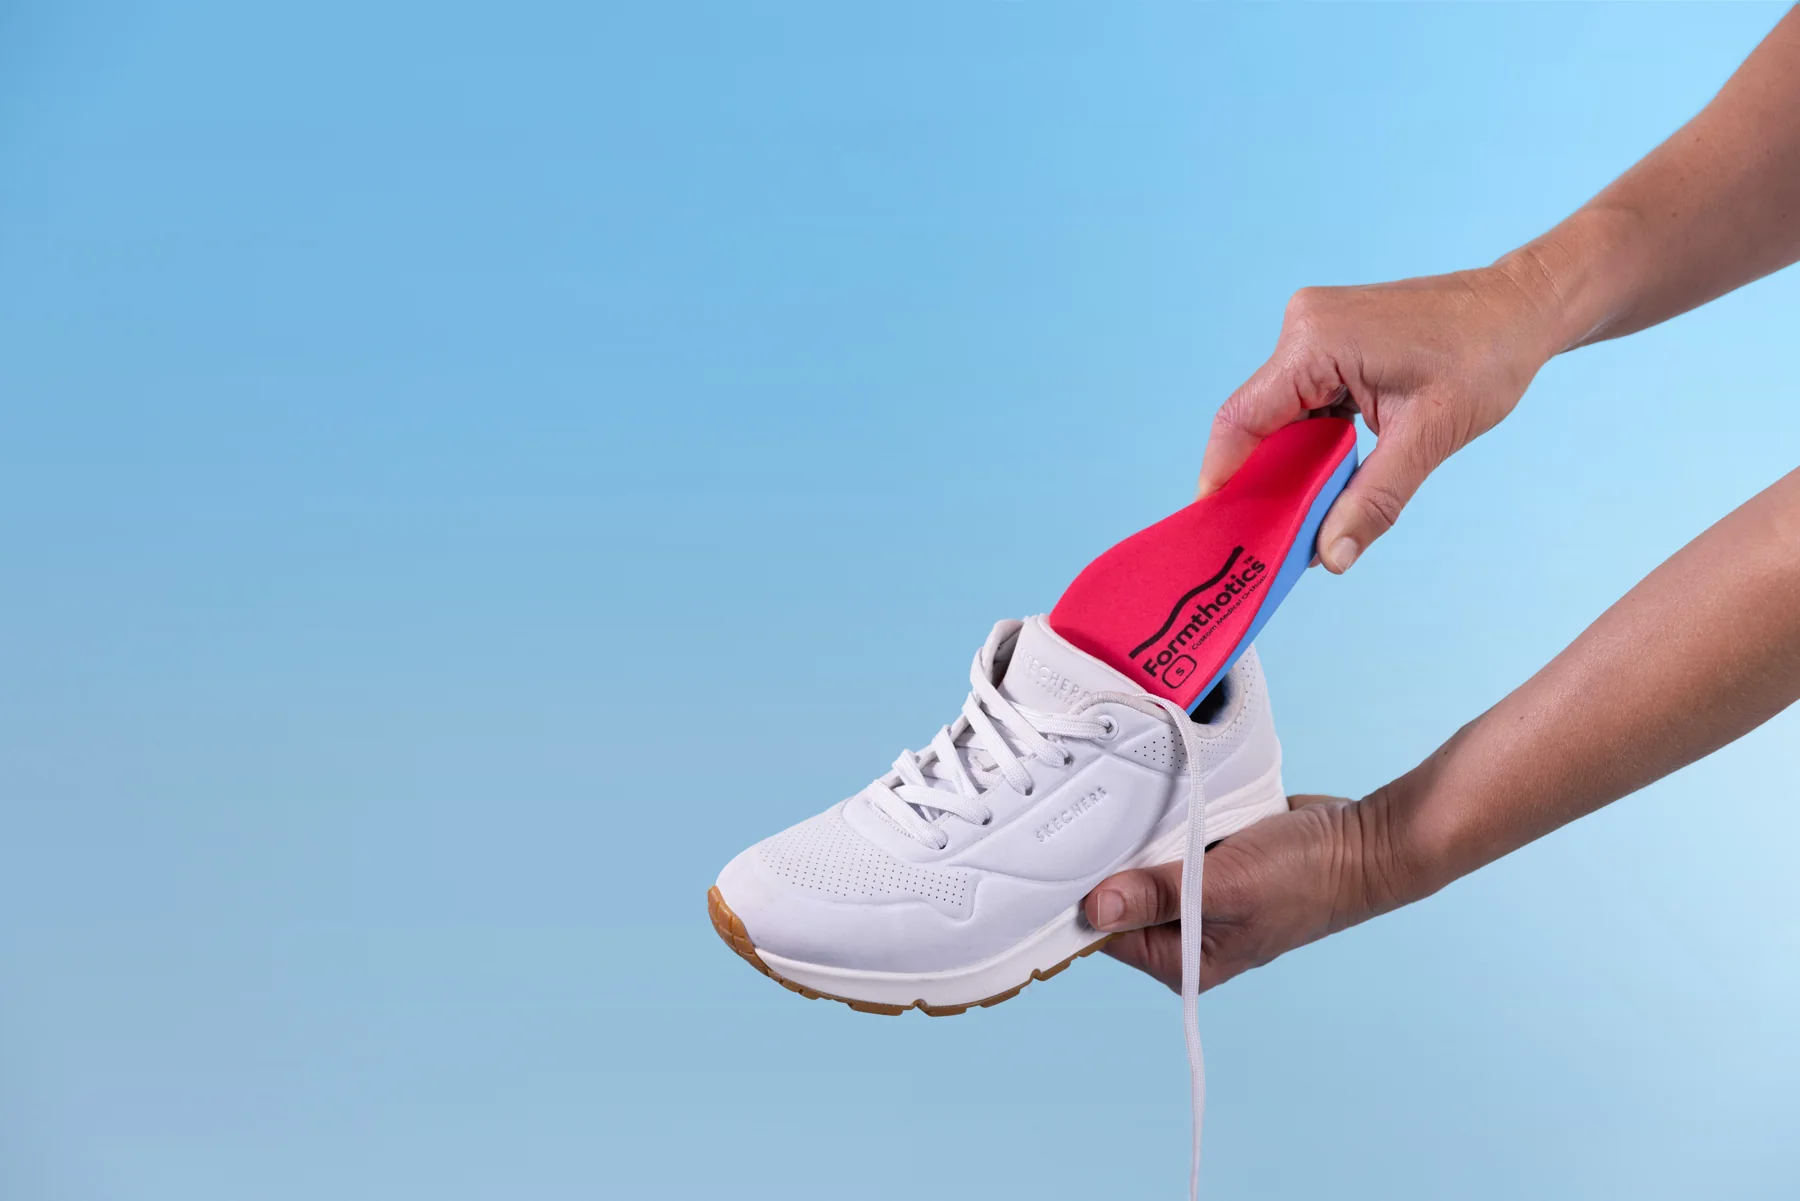
Formthotics are 3D-milled from proprietary plant-based Formax Foam. Controlled heat moulding lets the device conform to the foot and shoe in minutes. The closed-cell foam resists moisture absorption and is designed to be lightweight and easy to clean.
Fit & check
Fit the whole system.
The patient, orthotic and shoe must work together. Check fit and comfort before heat, during moulding and again in motion.
Prepare the shoe
Remove the existing removable liner where appropriate. Check device size and placement. Trim at the toes if needed; keep the heel intact. Look for bunching, crowding and pressure.
Heat and mould
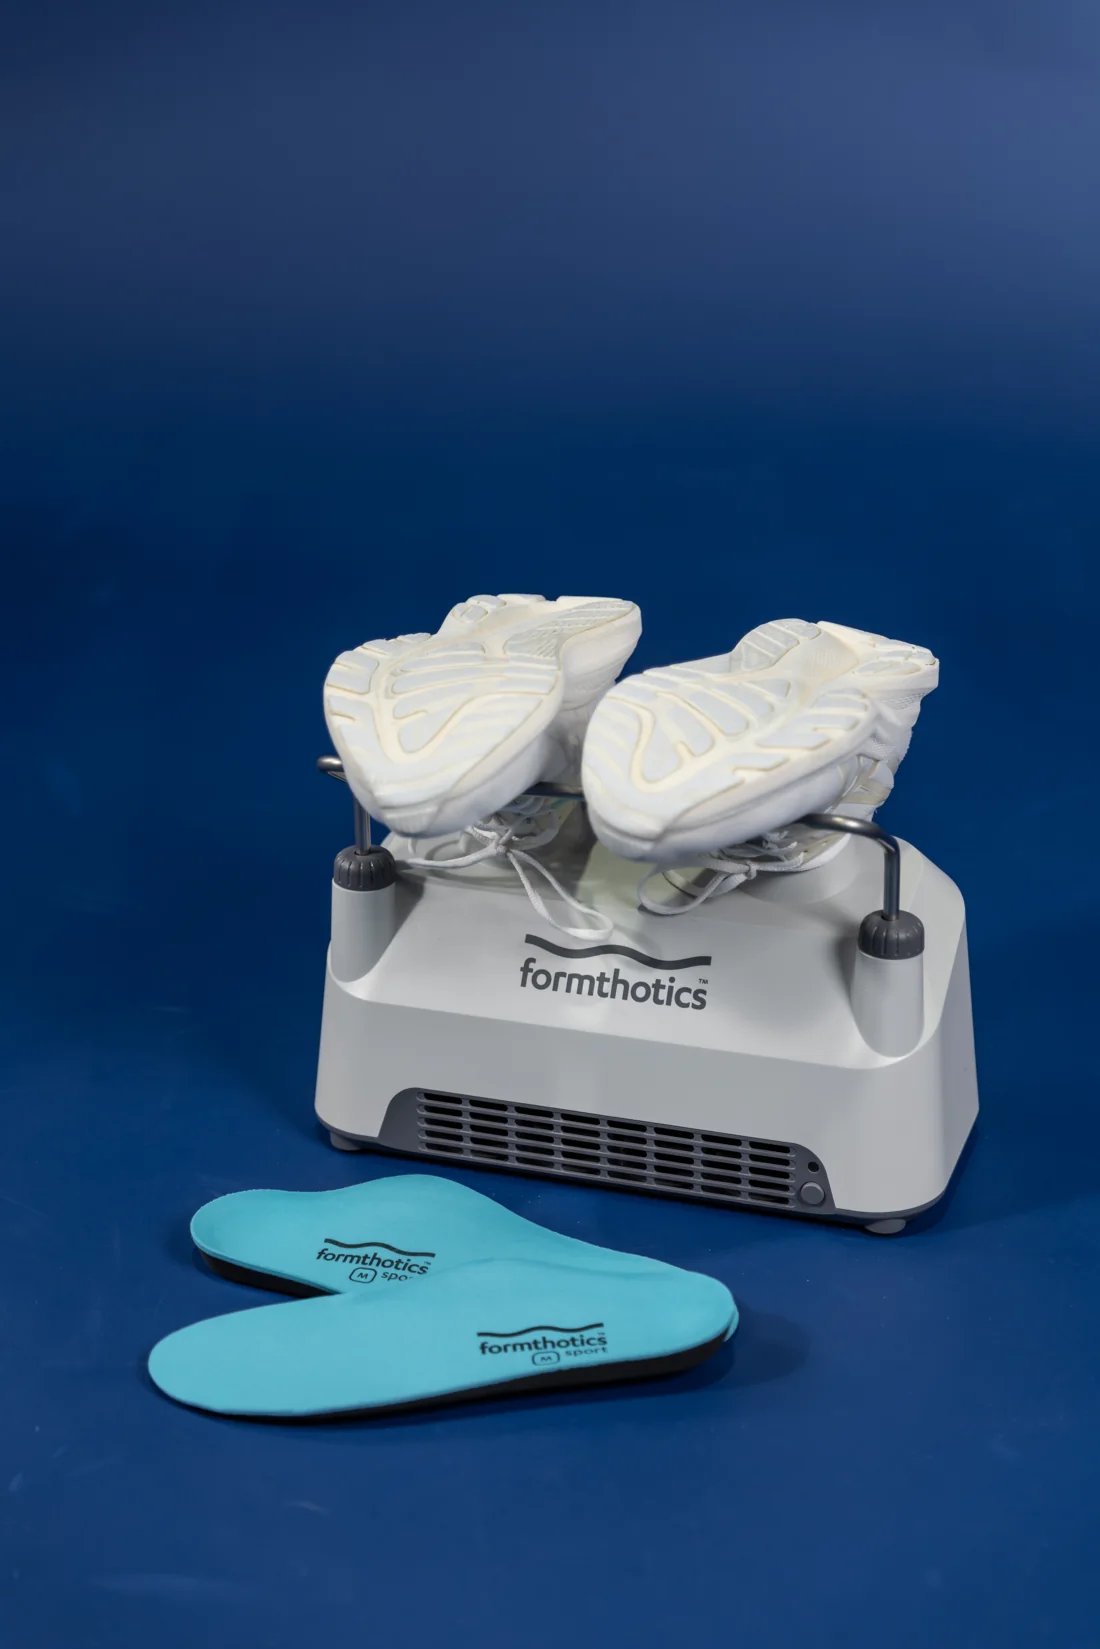
With the Formthotics V20, use the approved three-minute heating cycle and current model instructions. Check comfortable warmth. Fasten the shoe and hold the fitting stance for about 30 seconds.
Walk and listen
Ask the patient to walk briefly. Check toe room, heel hold, focal pressure, rubbing, comfort and stability. A new or painful pressure point calls for reassessment.
Re-test the goal
Repeat a relevant task in the same shoe and conditions. Keep, adjust, remove or reconsider the device based on the response—not on appearance alone.
Use the current instructions for the device and heating equipment in your clinic.
The manufacturer’s existing demonstration. Follow the current instructions for your model and heating equipment.
The Formthotics Medical System: six steps in practice
The six steps support the same assess → choose → fit → review journey. Rearfoot and forefoot changes are considered when the clinical aim and patient response support them.
Check in-shoe fit at the initial appointment and after every change.
Additions
A purpose for every modification.
Establish the response to the correctly fitted and moulded orthosis. Consider an addition when there is a clear clinical aim and a way to judge its effect.
I have a fitted device and a clear clinical aim
Before adding
What am I changing? What do I expect to improve? What would make me remove it?
Some patients need an adjustment period before modification. Open an addition below for placement and reassessment guidance.
Rearfoot wedges
A targeted change to rearfoot loading.
When, how and what to check
When to consider
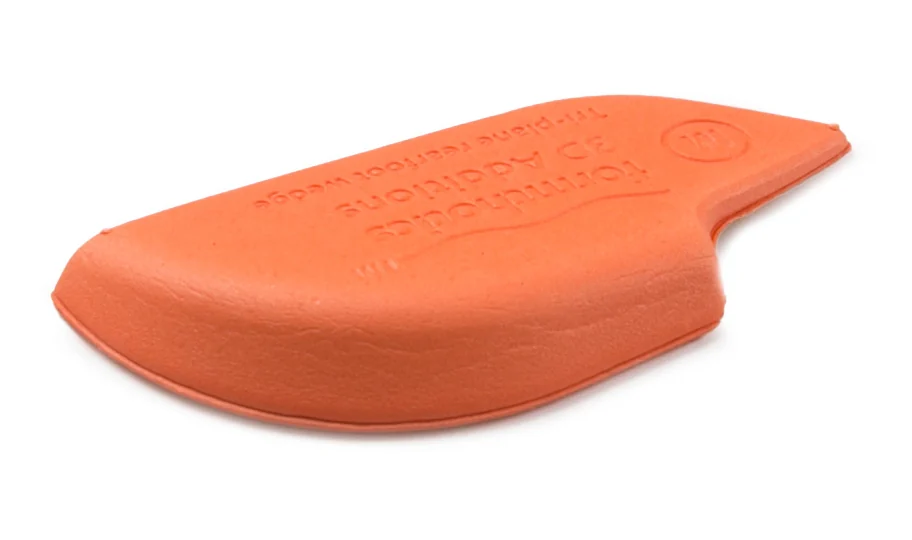
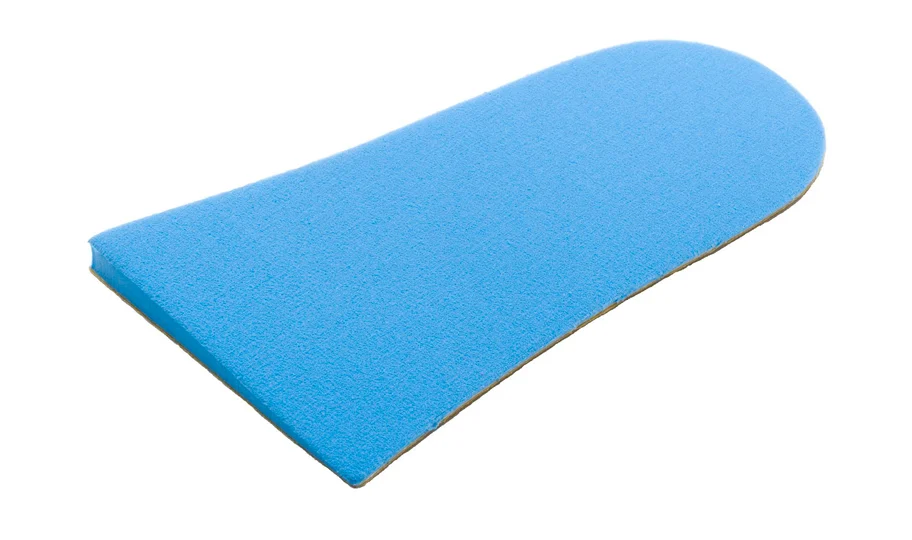
Consider a trial when changing rearfoot loading could improve the clinical aim. A medial wedge may be relevant where additional resistance to pronation is intended. A lateral wedge needs a clear reason for loading in the opposite direction.
How to trial
Attach beneath the rearfoot of the orthosis. The thicker edge is medial for a medial wedge and lateral for a lateral wedge. Begin with a modest modification and repeat the same task.
What to check
Check symptoms, stability and any new pressure elsewhere. New lateral-border discomfort after medial wedging prompts reassessment.
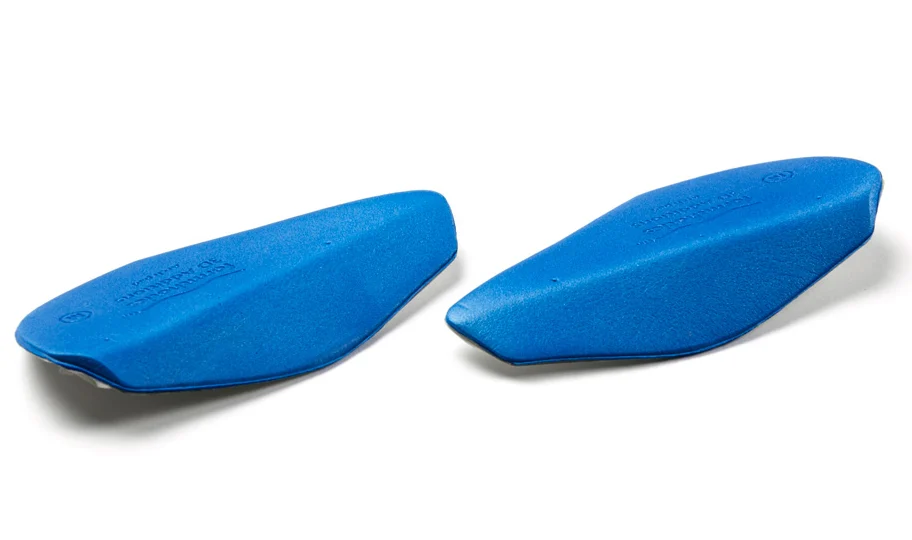
Standard wedges are available in medium and firm material. The shaped 3D Tri-Plane wedge has its own fit and alignment; select it for a reason.
Consider when extra medial-arch contact or support is a specific objective after the initial fitting. Foot shape alone does not establish the need.
How to trial
Position beneath the arch of the orthosis and match the pad to the individual contour. Check the size and transitions so it does not create a pressure ridge.
What to check
Ask the patient to distinguish comfortable support from a focal lump. Reposition, reduce or remove the pad if contact becomes intrusive.
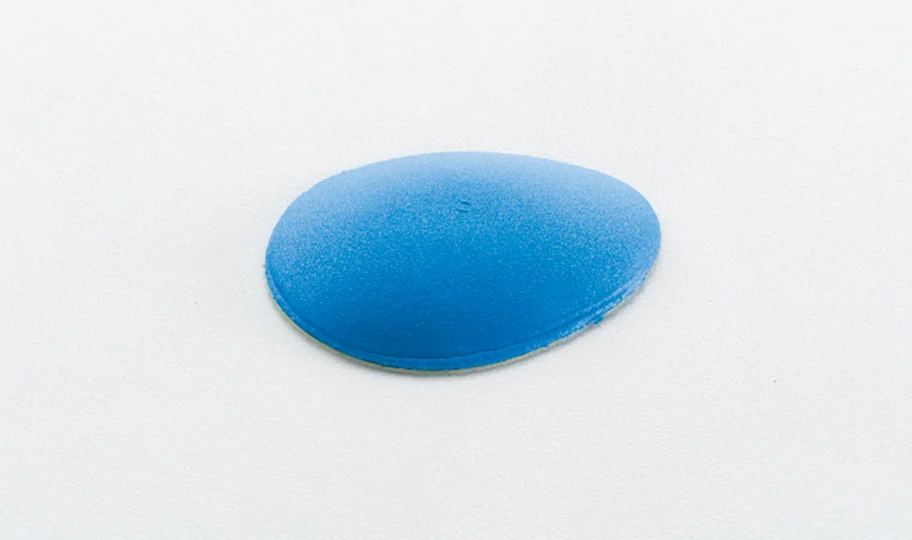
Redistribution of pressure-related forefoot loading.
When, how and what to check
When to consider
Consider for assessed pressure-related forefoot symptoms where moving load away from a painful area is the aim. Include the diagnosis and footwear in the decision.
How to trial
Locate the metatarsal heads and transfer their position to the orthosis. Begin with the dome prominence just proximal to the heads, then adjust to the individual response. Attach the UK product beneath the orthosis for more diffuse contact.
What to check
Reassess walking, push-off and toe-box space. Increased focal pressure, tingling or a distinct lump calls for review of position, size or suitability.
A study in older adults supports careful proximal placement. It used other dome products and measured pressure, so it does not establish one position for every patient.
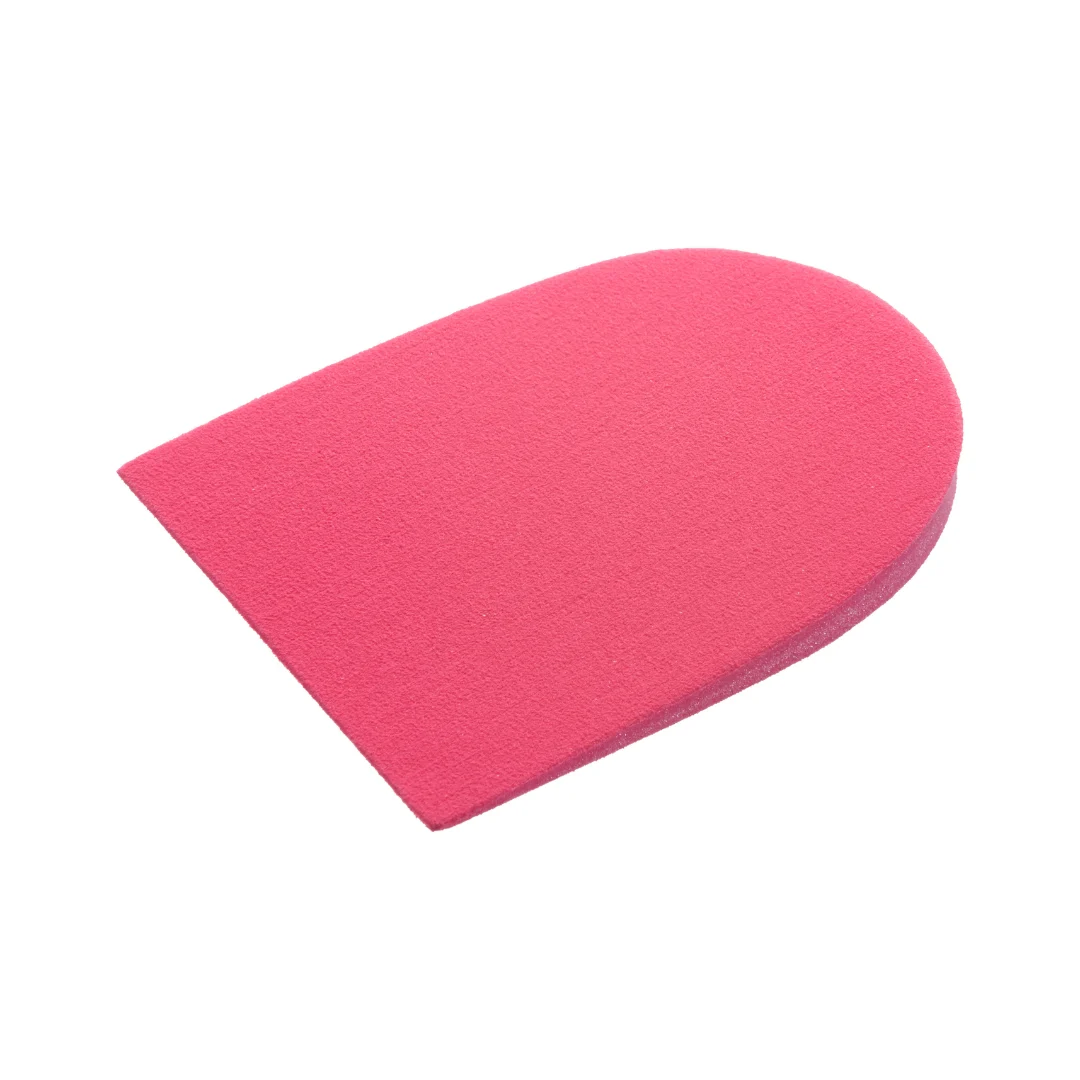
Consider a selective trial where elevation has a clear purpose, such as modifying a dorsiflexion-related symptom. An assessed leg-length discrepancy is a separate indication with its own reasoning.
How to trial
Secure beneath the heel of the orthosis or within the shoe as directed for the product. Choose height and unilateral or bilateral fitting to match the aim. The UK 4 mm and 6 mm options are product sizes, not automatic prescription doses.
What to check
Check heel retention, shoe-counter contact, forefoot pressure and the target activity. Agree when to continue, adjust or remove the raise.
For Achilles symptoms, use selectively alongside rehabilitation. A 2025 trial in midportion Achilles tendinopathy found a small benefit over sham that did not reach its predefined clinically important difference. It did not support heel lifts as primary management.
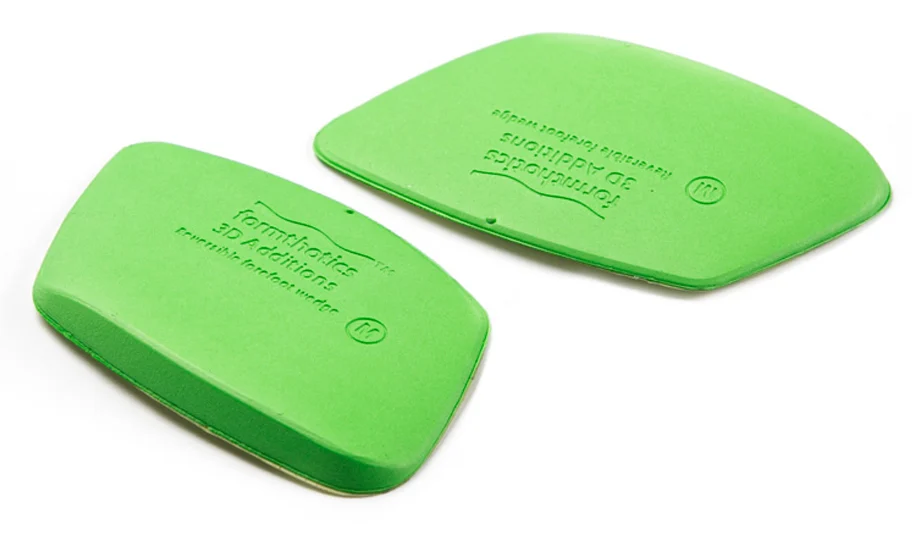
Consider when assessment identifies a particular forefoot loading or support requirement. Distinguish a flexible presentation from a fixed position and state which area needs support.
How to trial
Choose medial or lateral orientation beneath the orthosis, with a smooth transition. The reversible wedge can be used in either orientation. Direction and amount follow the assessed aim.
What to check
Reassess push-off, first-ray and hallux function, comfort and any new pressure beneath adjacent metatarsal heads.
Practise placement under supervision. A forefoot posture measurement alone does not determine the modification.
Consider where a longer area of support is relevant to the clinical aim, or an addition needs shaping for a rearfoot or forefoot application.
How to trial
Use the longer wedge as appropriate, or cut it for the intended application using suitable equipment and training. Check orientation, contour and smooth transitions.
What to check
Compare the same functional task and inspect for edge pressure, crowding or new symptoms. More material does not automatically improve the result.
Medium and firm versions are available. Change material, height or position separately where practical so the response is easier to interpret.
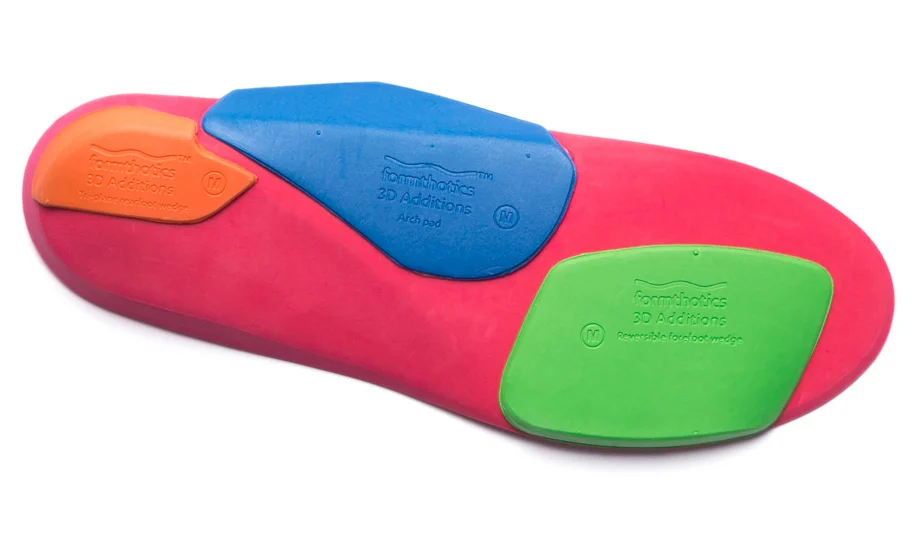
Manufacturer placement example: arch pad beneath the arch and reversible wedge beneath the forefoot. Select each addition individually; this photograph is not a prescription to use them together.How to trial a modification
Keep the same footwear and task when comparing a change.
Define the aim
Name the symptom or activity and record a baseline.
Assess the base device
Check fitting, moulding, comfort and the initial response.
Trial one addition
Mark the position and secure it appropriately. Change one feature where practical.
Repeat the task
Compare symptoms and function. Check for new pressure or instability.
Record and review
Document side, position, size, material and response. Agree the next step.
The addition’s material matters too
Where medium and firm versions exist, compare compression under load, maintenance of the intended shape and contact tolerance. Change material, height and position separately where practical.
Immediate improvement supports a monitored trial. Continued benefit during normal use determines whether the modification remains appropriate.
An orthotic trial includes wear advice, a route back if something is wrong, and a planned review of the original goal.
Agree wear
Agree a gradual wear plan around the patient’s activity and tolerance. Check which shoes they will use and what a comfortable adjustment may feel like. There is no single timetable for everyone.
Know when to stop
New or worsening pain, blistering or bruising needs the patient to stop using the device and contact the clinician for reassessment.
Measure and review
Agree review timing for the presentation and risk. Compare the original goal, symptoms, comfort and actual wear. Changes in footwear, activity or symptoms may need an earlier review.
At review
Check the fit before adding more.
Problem
What to check
Next step
Arch discomfort or a rubbing edge
Skin, focal pressure, device seating, profile and wear history.
Reassess fit and suitability. Stop use for new or worsening pain or skin injury; make any adjustment within training and the IFU.
Heel slipping or toes crowded
Device size, heel seating, removable liner and available shoe depth.
Recheck the foot-device-shoe fit. Compare appropriate footwear or a lower-volume option, then re-test.
New discomfort after an addition
The last change: side, position, size, material and intended effect.
Reduce or remove the recent addition and reassess the same task. Do not keep a change that creates new symptoms.
No useful improvement
Actual wear, footwear, original goal and wider assessment.
Reconsider the trial and wider care plan. More material is not an automatic next step.
Recording the trial and explaining the plan
A useful record
Document the reason, device, response and plan.
Reason Patient goal, working diagnosis and relevant findings.
Device Model, size, footwear, fitting and any additions.
Response Comfort and a repeatable before-and-after task.
Plan Advice, consent, review timing and reasons to return sooner.
Before they leave
Make it a shared plan.
“We’re trying this to help you walk more comfortably. Tell me how it feels in the shoes you actually wear. We’ll review what helps and change the plan if needed.”A patient-conversation prompt
Explain the aimAgree what you hope will improve and acknowledge that the response is individual.
Invite honest feedback“How comfortable is it? What might make it difficult to wear?”
Connect the wider careExplain how the trial fits with agreed exercise, load and footwear advice.
Agree the route backConfirm the wear plan, review date and when to stop and contact you sooner.
Practice cases
Reason it through.
These are illustrative prompts, not diagnoses or prescriptions. Choose a goal, a trial and a way to tell whether it helped.
Practice case
First-step heel pain
An adult has pain on first steps and after longer walks. Their aim is to resume a 30-minute daily walk.
What else do you need before choosing treatment?
What device and footwear trial is reasonable?
What wider care and outcome measure will you agree?
Explore a reasoned approach
Clarify symptoms, differential diagnosis, load, footwear and relevant risks. If suitable, trial a comfortable device in an appropriate shoe; use it alongside a broader heel-pain plan. Compare walking tolerance and symptoms, and set a review.
Practice case
Forefoot discomfort
An adult has discomfort beneath the forefoot. Their usual work shoes have limited room.
Which history and examination findings change the plan?
Would changing footwear be the first useful step?
How would you position and review an addition?
Explore a reasoned approach
Assess the likely cause, skin, sensation, pressure and shoe space. A shoe change or lower-volume option may help before adding thickness. If a dome is indicated, locate the metatarsal heads and trial a proximal position beneath the orthosis. Recheck walking, push-off, toe space and focal pressure. Adjust or remove if symptoms worsen.
Practice case
Support with sensitive contact
Support improves walking comfort, but the patient finds firm contact intrusive.
Could a softer surface preserve useful support?
Does the profile fit the foot and shoe?
What will you compare before deciding?
Explore a reasoned approach
Compare a suitable dual construction, while checking moulding, profile and local pressure. A supportive base and softer top may address both requirements. Confirm the response to the same activity and agree a review.
Practice case
Discomfort after a wedge
After a rearfoot modification, the patient notices new lateral-border discomfort.
What was the intended purpose?
What would you reassess or reverse first?
What would justify keeping the change?
Explore a reasoned approach
Check orientation, position, size and footwear. Reduce or remove the recent modification and compare the same task. A change in observed movement does not outweigh new symptoms. Reconsider the hypothesis if there is no useful, tolerated effect.
Build confidence through practical training, or replenish your clinic stock.